
Transform Furniture with DIY Painting A Creative Guide
Unlock Your Creativity Through DIY Furniture Painting
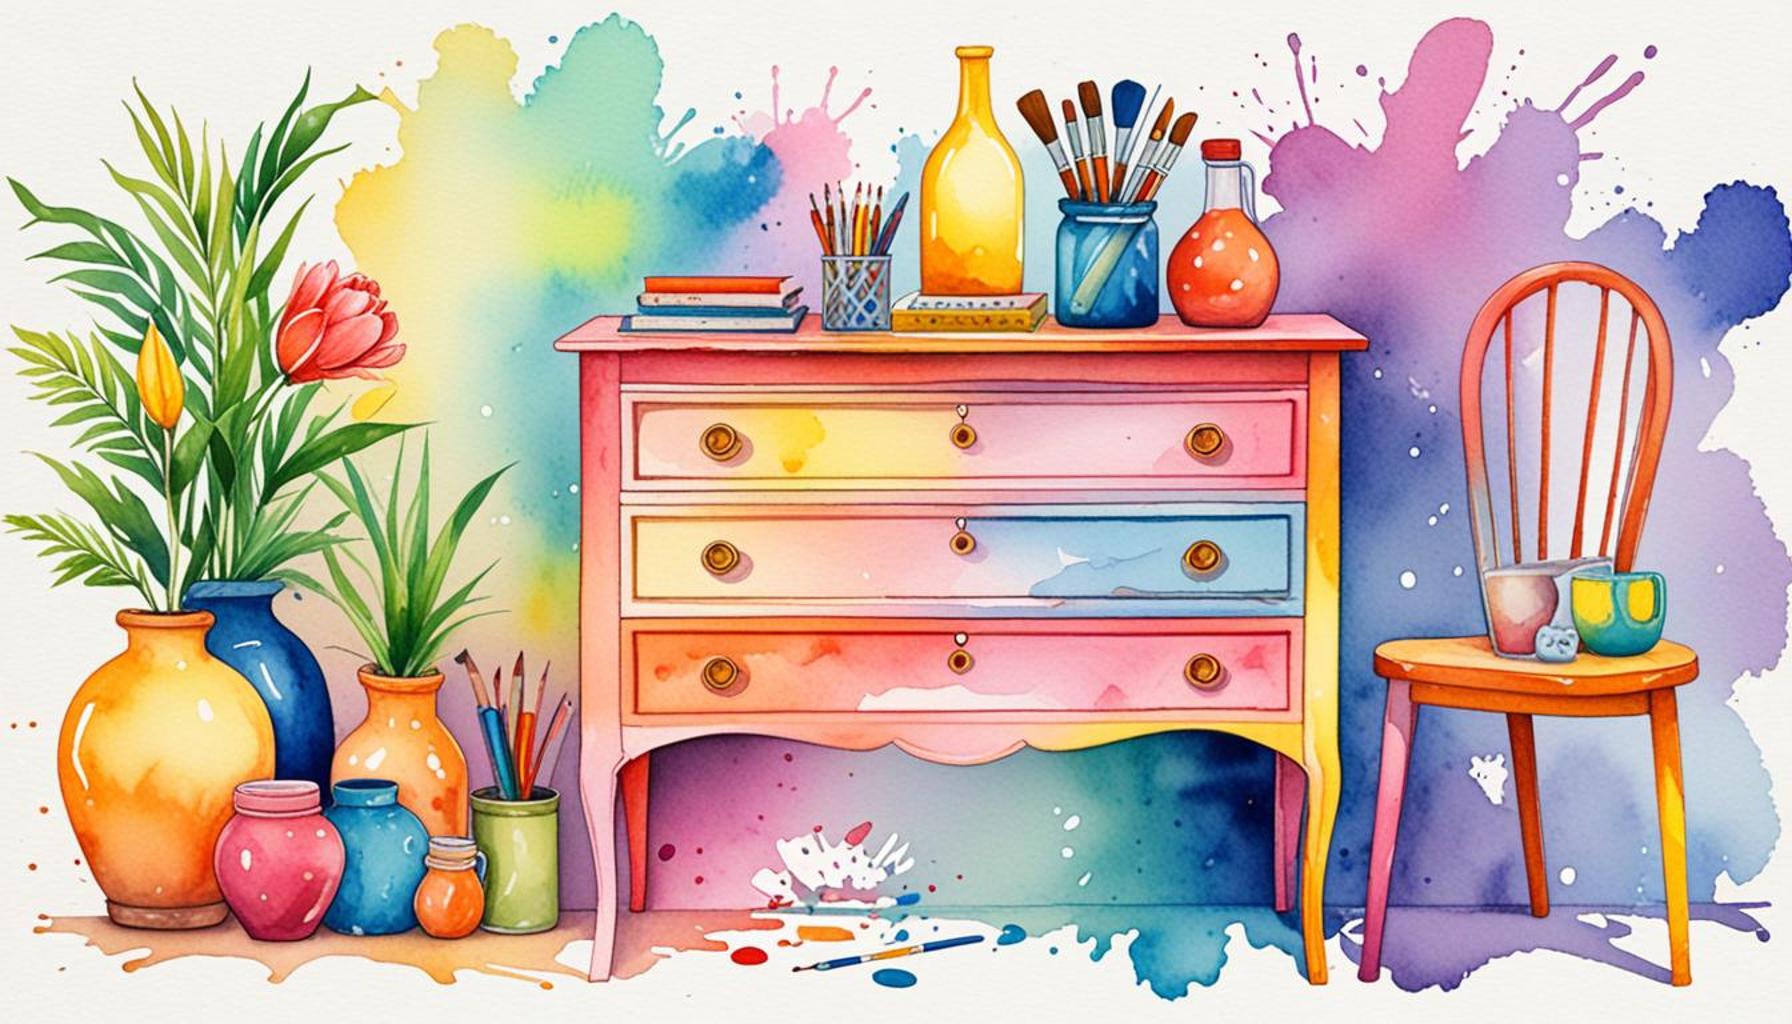
Have you ever looked at an old piece of furniture and wondered how to bring it back to life? DIY painting offers an exciting opportunity to not only refresh your space but also express your personal style. With just a few materials and a dash of creativity, you can turn tired, outdated furniture into stunning focal points that can transform an entire room’s aesthetic.
Consider the benefits of transforming furniture with paint:
- Cost-Effective: Revamping furniture saves money compared to buying new pieces. For instance, a fresh coat of paint can breathe new life into an old dresser, transforming it into a stylish storage solution for just a fraction of the cost of a new one.
- Personalized Design: Tailor colors and patterns to match your home’s aesthetic. If your living room features earthy tones, a muted sage green might be the perfect choice for an accent chair. Conversely, for a pop of color, bright yellows or rich jewel tones can create a striking contrast.
- Sustainable Practice: Repurposing furniture diminishes waste and promotes environmental consciousness. By choosing to refurbish furniture instead of discarding it, you’re making an eco-friendly choice that contributes positively to the environment through reduced waste.
Many DIY enthusiasts across the United States have embraced the art of furniture painting. For example, sites like Etsy are filled with unique pieces that people have transformed, showcasing their creative prowess. From restyling thrift shop finds to refinishing family heirlooms, the transformations are endless. Imagine turning a drab, outdated dining table into a modern masterpiece with a geometric design; the possibilities are truly limitless.
Tools and techniques vary widely, allowing anyone, regardless of skill level, to dive into this creative journey. Essential tools include paintbrushes, roller applicators, painter’s tape, and high-quality paint designed specifically for furniture use. Techniques such as distressing for a vintage look or stenciling for added flair can enhance the final outcome.
In this guide, we will explore practical tips, inspiring examples, and essential tools needed for your furniture painting project. Whether you’re after a chic vintage look or a modern statement piece, you’re just a few strokes away from achieving your dream decor. With every brushstroke, you’ll not only create a unique piece but also gain a deeper understanding of your personal style, making your home a true reflection of who you are.
![]()
CHECK OUT: Click here to explore more
Gathering Your Materials and Planning Your Project
Before you embark on your DIY furniture painting adventure, it’s crucial to carefully plan and gather the right materials. Understanding the fundamental tools, types of paint, and techniques will set the stage for a successful transformation. Let’s break down essential items needed for your project and explore effective planning strategies that can lead to an impressive finish.
Essential Tools for a Smooth Painting Experience
To ensure a seamless painting process, you’ll need to equip yourself with some basic tools. Here’s a list of must-have items to kickstart your project:
- Quality Paint: Opt for high-quality furniture paint, whether it’s chalk paint, latex, or acrylic. Each type comes with its own features, so consider your desired finish before choosing.
- Brushes and Rollers: A variety of brushes and rollers will give you flexibility for detailed work and broader surfaces. Angle brushes are great for corners, while foam rollers can help achieve a smooth finish.
- Painter’s Tape: Use painter’s tape to protect areas you don’t want to paint, ensuring clean lines and preventing overspray.
- Sandpaper or a Sander: Properly prepping the surface with sandpaper or an orbital sander is essential for the paint to adhere well.
- Drop Cloths: Protect your floors and other surface areas from spills and drips by using drop cloths or old newspapers.
Choosing the Right Paint for Your Furniture
When it comes to paint selection, your choice will heavily influence the overall outcome of your project. Different paints offer varied finishes, durability, and ease of use. Here are a few popular options:
- Chalk Paint: Known for its matte finish and ease of use, chalk paint is perfect for achieving a soft, vintage look. It requires little prep work and is highly blendable, making it ideal for creative layering.
- Latex Paint: This water-based paint is highly versatile and available in various finishes, from matte to glossy. It’s great for durability and can be used for both indoor and outdoor furniture.
- Acrylic Paint: Offering a harder finish, acrylic paint is suitable for items that will face more wear and tear. It’s often available in vibrant, rich colors, making it perfect for bold designs.
Consider the furniture piece you are planning to transform when selecting your paint type. For instance, a high-traffic coffee table might benefit from the robust qualities of acrylic paint, enabling it to withstand daily use while still looking stylish.
Planning Your Design and Color Scheme
Once you have your materials ready, think about the overall design you wish to achieve. Create a mood board or collage that reflects your style; this will guide your choices regarding color and finish. Don’t shy away from experimenting with complementary hues throughout your home’s color palette. Transitioning from dark to light shades can create an amazing visual effect, making a once-forgotten piece of furniture an eye-catching masterpiece.
Staying organized and informed will empower you to tackle any DIY furniture painting project with confidence. With the right tools and a clear vision, you’ll be well on your way to transforming your furniture into standout pieces that resonate with your personal taste.
| Advantage | Details |
|---|---|
| Cost-Effective | Transforming your furniture through DIY painting can be significantly less expensive than purchasing new pieces. With just a few supplies, you can revitalize your space. |
| Customization | DIY painting allows you to tailor your furniture to match your personal style, incorporating unique colors and designs that reflect your taste and enhance your decor. |
| Environmental Impact | Revamping old furniture rather than buying new items promotes sustainability, contributing to a reduction in waste and extending the life of existing materials. |
| Skill Development | Engaging in DIY projects helps you acquire and enhance creative skills, boosting your confidence and enabling you to tackle more complex home improvement tasks in the future. |
When undertaking the journey of transforming your furniture through DIY painting, understanding these advantages is crucial. Not only does it empower you to revitalize your home on a budget, but it also allows for a level of personalization that store-bought items often lack. Additionally, focusing on sustainability by choosing to refurbish rather than dispose contributes to a more eco-friendly lifestyle. As you delve into this creative guide, consider experimenting with color theory and finishes to truly make your project stand out. The realm of DIY furniture painting is broad, providing endless opportunities for innovation and self-expression. Explore tutorials online or join workshops that can enhance your skills and inspire your transformation journey. Each brushstroke brings your vision to life, reflecting a fusion of talent and creativity.
CHECK OUT: Click here to explore more
Preparing Your Furniture for a Flawless Finish
Preparation is key in any DIY project, particularly when it comes to painting furniture. Properly prepping your furniture not only enhances the quality of your finish but also extends the life of your paint job. Here’s how to ensure your furniture is ready for its transformative journey.
Cleaning and Repairing Your Furniture
Before you even think about applying paint, start with a thorough cleaning. Dust and grime can impede paint adhesion and spoil your finish. Use a mild soap and warm water to clean your furniture, and dry it completely. For pieces with stubborn stains or built-up grime, consider using a degreaser or vinegar solution. Once clean, inspect your furniture for any repairs needed. Fill in scratches or dents with wood filler and sand the area once it’s dry. This attention to detail will create a smooth surface that allows the paint to glide on effortlessly.
Sanding for Perfect Adhesion
Next, don’t overlook the importance of sanding. Even if the surface isn’t rough, sanding creates a texture for the paint to grab onto, ensuring superior adhesion. Start with a medium-grit sandpaper (around 120-grit) and work your way to a finer grit (220-grit) to achieve a silky finish. Be sure to sand in the direction of the wood grain to avoid scratches that may show through the final paint layer. After sanding, wipe down the piece with a damp cloth to remove dust particles. This simple step can significantly improve the quality of your final product.
Priming Your Furniture: A Step Not to Skip
Depending on the paint you choose, applying a primer may be necessary for the best results. Primers can enhance the paint’s durability, color vibrancy, and coverage. When selecting a primer, look for a bond-enhancing formula, especially for slick surfaces like laminate or varnished wood. Applying one to two coats of primer will also help prevent bleed-through if you’re painting over a darker color.
For those on a budget, a DIY primer can be created using a mix of white glue and water. This can act as an effective and cost-efficient primer base while providing an excellent surface for your paint to adhere to.
Mastering the Painting Process
With your furniture prepped and primed, it’s time to get painting. Start with the edges, corners, and details using a brush for better control, then switch to a roller for larger flat surfaces. Employing a technique that involves thin layers will help avoid drips and uneven coverage, so don’t rush this step. Multiple thin coats are always better than one thick layer, as thin layers dry quicker and enhance the durability of the finish.
If you’re aiming for an artistic flair, don’t hesitate to get creative with techniques like sponging, stenciling, or ombre effects. Experimenting with different tools, like textured rollers or even old rags, can yield unique results that reflect your personal style.
Finishing Touches: Sealing Your Work
Once your final coat is dry, consider sealing your work with a topcoat to preserve the paint and protect it from scratches and wear. Polycrylic and polyurethane are excellent options that come in various finishes from matte to high gloss. With the right sealant, your beautifully transformed furniture will withstand the rigors of everyday use while providing that stunning aesthetic you envisioned.
With careful preparation, meticulous application, and a touch of creativity, you can truly transform your furniture into unique, functional art pieces that brighten your home. Equip yourself with knowledge and patience, and enjoy every step of this rewarding DIY journey.
CHECK OUT: Click here to explore more
Conclusion: Unleashing Your Creativity Through DIY Furniture Painting
In summary, transforming your furniture with DIY painting is not only an opportunity to revitalize old pieces but also a chance to express your personal style and creativity. Throughout this guide, we explored the essential steps for a successful makeover—from thorough cleaning and repair to sanding, priming, and finally, the joy of painting.
Understanding the importance of preparation cannot be overstated; it acts as the foundation for your artistic endeavor. By selecting the right colors and techniques, like stenciling or ombre effects, you can create an atmosphere that reflects your unique taste. Remember, patience is vital during the painting process; multiple thin layers will yield a more polished and durable finish compared to one thick coat.
Additionally, the choice of sealant can significantly influence the longevity of your work, protecting it from the wear and tear of daily use. As you finish your project, consider how these enhanced pieces not only serve a practical purpose but also elevate the overall aesthetic of your space.
As you embark on this rewarding DIY journey, keep in mind that each furniture transformation tells a story—one of creativity, persistence, and personal touch. Dive into your projects with a passion for discovery and innovation, and watch as your furniture evolves into stunning conversation starters within your home.
So gather your materials, unleash your imagination, and start the rewarding adventure of transforming furniture with DIY painting today!