DIY Custom Desk Organizers Step-by-Step Guide to Personalize Workspaces
Elevate Your Workspace with DIY Organizers
Creating a personalized workspace can dramatically enhance productivity and creativity. One effective way to achieve this is through DIY custom desk organizers. These practical projects not only help declutter your space but also showcase your unique style while reaping various benefits that contribute to a more enjoyable workspace.
Why Customize Your Desk?
Custom organizers bring a fresh vibe to any office or study area, whether you work from home or in a bustling office environment. They offer numerous benefits, making them a worthwhile investment of your time and creativity. For example:
- Increased Productivity: A tidy workspace promotes efficiency by minimizing distractions. Studies show that clutter can negatively impact focus and creativity. By organizing your desk, you can create a serene environment that allows for better concentration on tasks at hand.
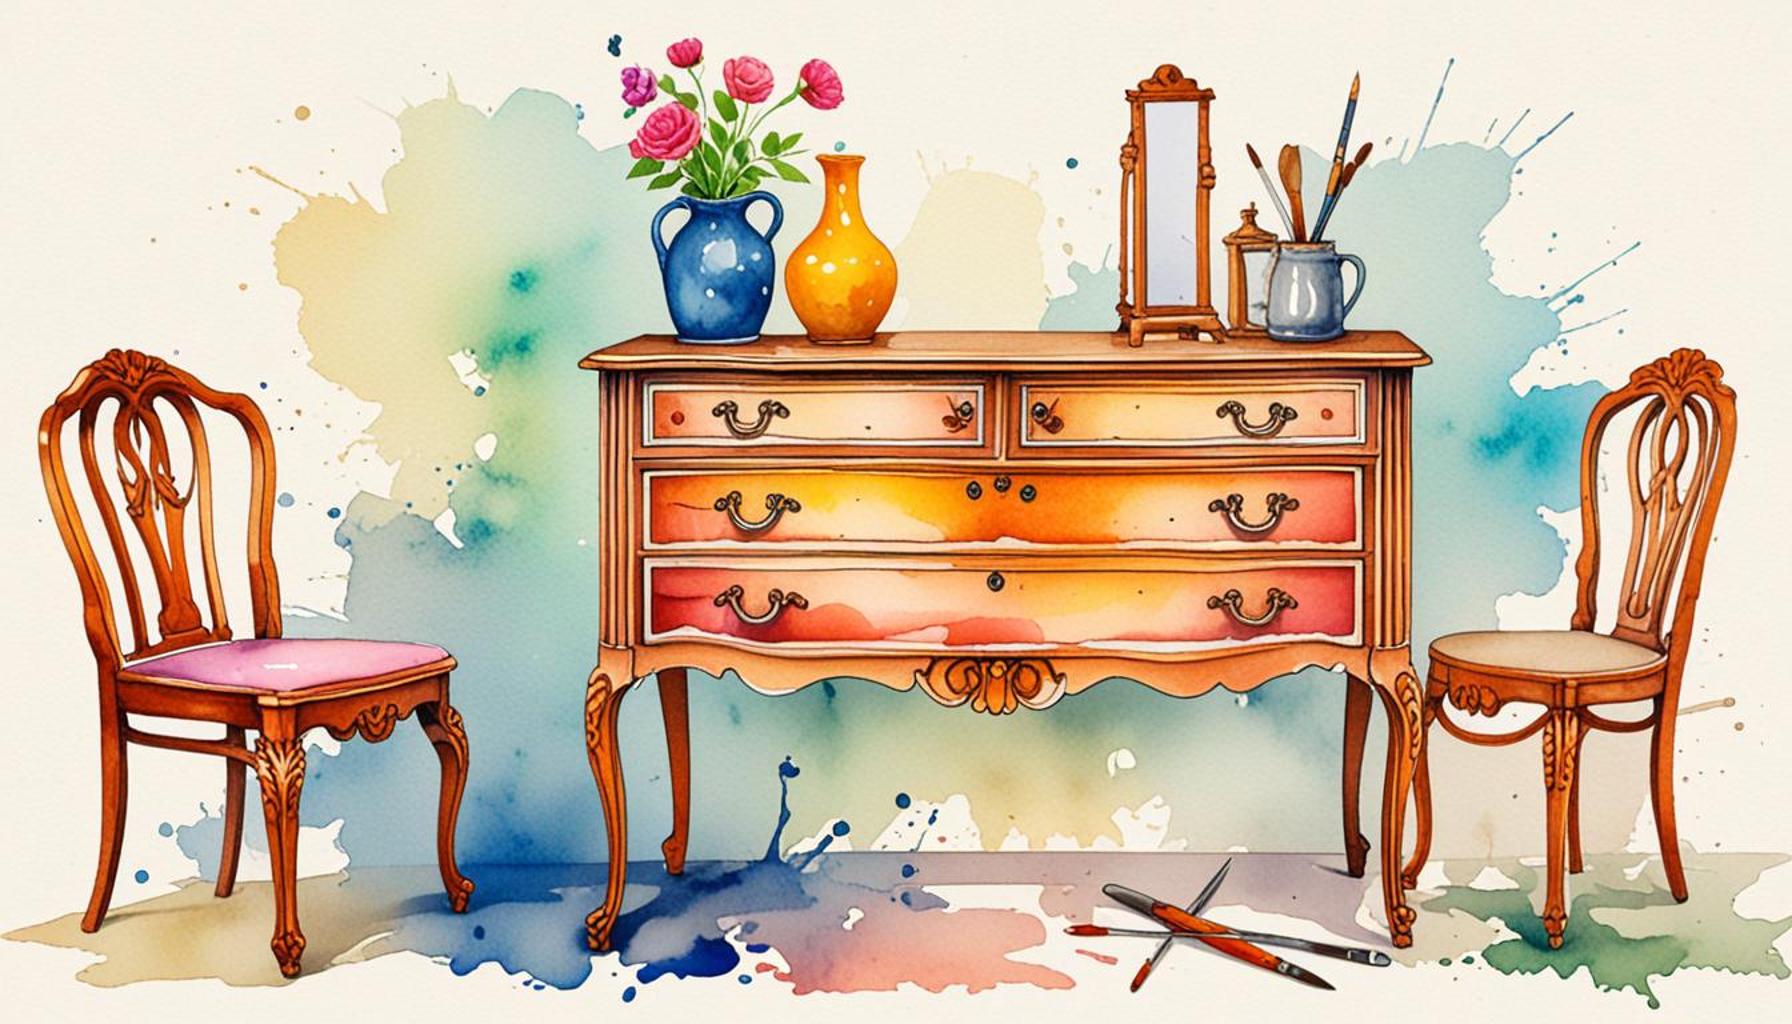
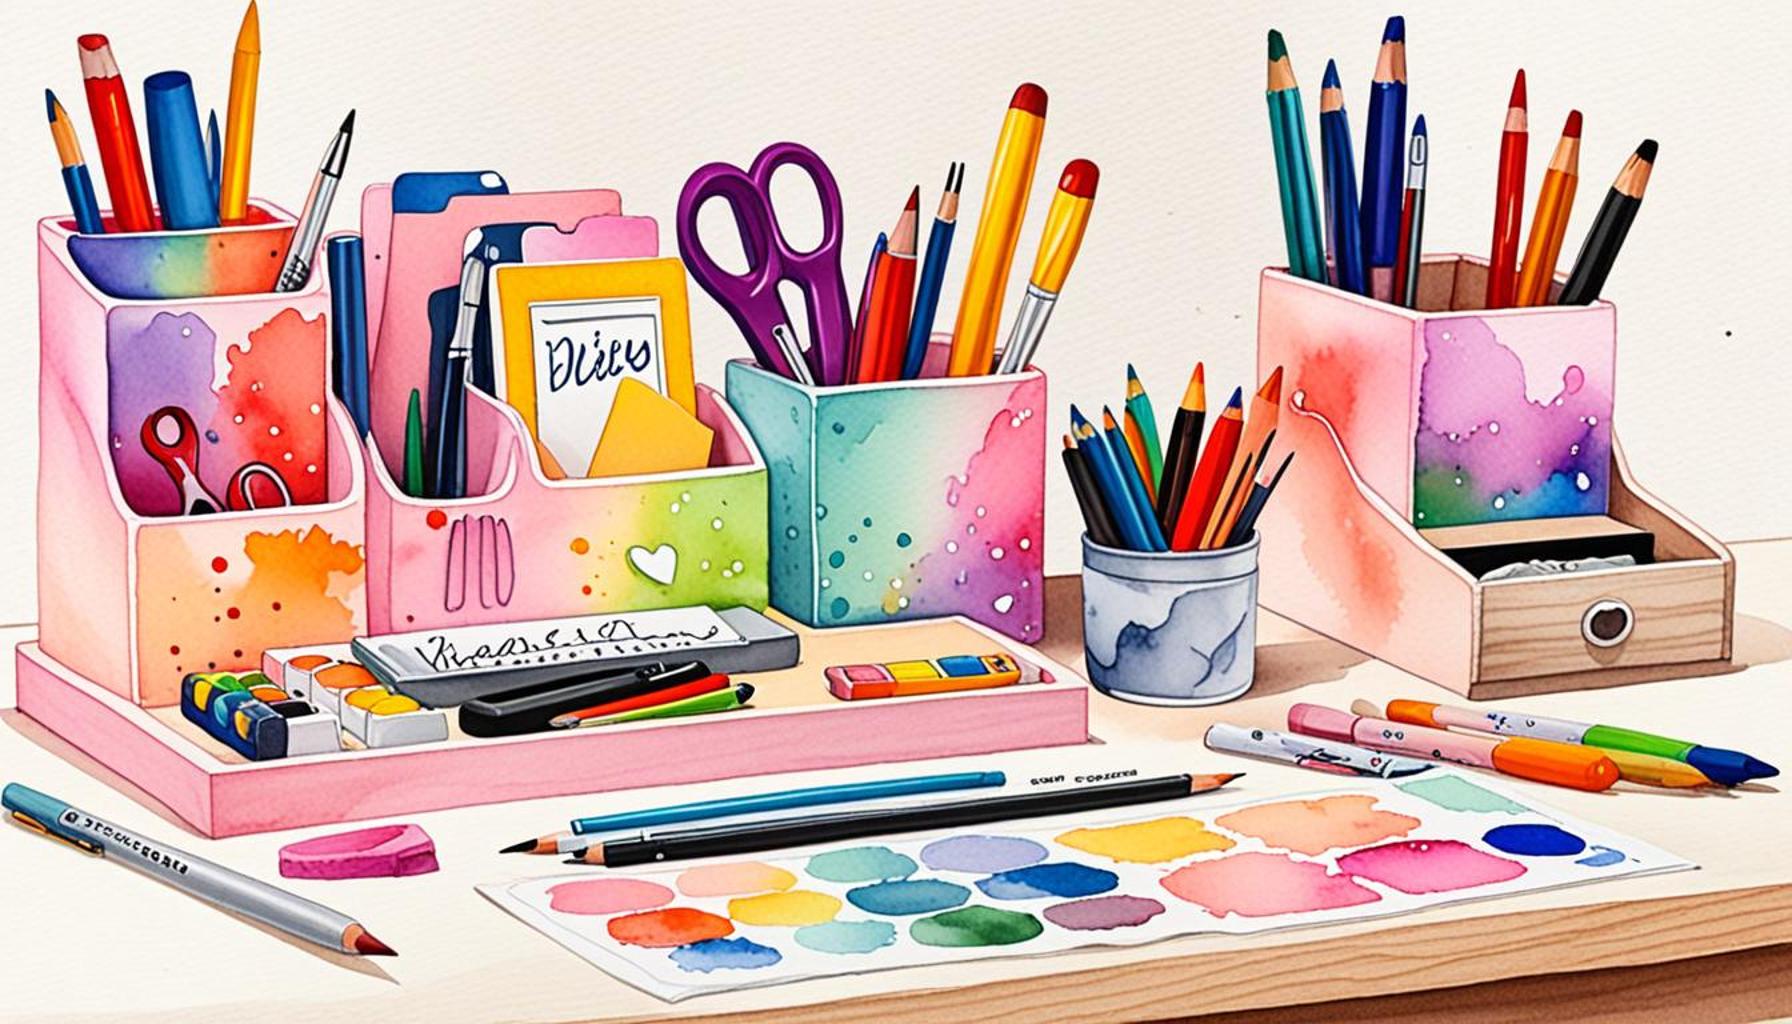
- Reflect Personal Style: Incorporate colors, patterns, and designs that resonate with you. Whether you prefer a minimalist aesthetic with neutral tones or a vibrant palette with bold designs, custom organizers allow you to express your individuality and make your space more inviting.
- Cost-Effective Solutions: Creating functional designs doesn’t have to break the bank. Instead of purchasing expensive organizers, you can craft them using materials you may already have at home, such as cardboard, wood, or repurposed items.
Moreover, the act of crafting can be a therapeutic break from daily tasks. Imagine whipping up a chic pen holder or a multi-compartment desktop tray while tapping into your creativity. Not only do you end up with practical tools, but you also infuse personal touches that make your workspace feel distinctly yours. Creating items like a corkboard planner or a colorful file organizer can even serve as a fun project to share with family or friends, promoting a sense of community around your workspace.
What Will You Learn?
This step-by-step guide will provide you with essential insights, including:
- Essential materials and tools for DIY projects, from crafting knives to non-toxic glues that ensure your safety while creating.
- Inspiring ideas to personalize your workspace, such as incorporating natural elements like plants or using fabric to design cozy organizers.
- Detailed instructions for creating various types of desk organizers, including vertical file holders, sticky-note dispensers, and even drawer dividers, which will help maximize your desk space.
By the end of this article, you’ll be ready to transform your desk into a well-organized haven that fuels your motivation and creativity each day. From fostering a more productive environment to allowing your unique personality to shine through, the journey of crafting your personalized desk organizers is sure to be enriching. Let’s gather our materials and dive into the exciting world of DIY desk organization!
SEE ALSO: Click here to read another article
Gathering Your Tools and Materials
Before diving into the creative process of crafting your own custom desk organizers, it is crucial to gather the right tools and materials. The sheer variety of available options can seem overwhelming, but with some planning, you can select items that will lead you to a successful and enjoyable DIY project. Here’s a breakdown of essential materials and tools that will turn your customization dreams into reality:
- Cardboard or Wood: Depending on your choice of design, you can opt for sturdy cardboard for lightweight projects or durable wood for a robust finish. Repurposing old cardboard boxes or unused wooden shelves can also reduce waste and save costs.
- Crafting Knife and Scissors: These essential tools will help you accurately cut your materials to size. Make sure to handle knives with care and consider using a cutting mat to protect your surfaces.
- Adhesives: Choose non-toxic glue, hot glue, or wood glue, depending on your materials. A strong adhesive will ensure your organizer remains stable and functional.
- Paint and Brush: Personalizing your organizer with paint can significantly enhance its aesthetic appeal. Choose colors that reflect your style or keep it classic with minimalist tones. Don’t forget to use non-toxic paints to keep your workspace safe!
- Decorative Elements: Think about incorporating washi tape, fabric, stickers, or even pictures to make your organizers pop. These elements can add a personal touch that aligns with your unique style.
Once you have collected your materials, it’s time to visualize your ideal desk organizer. Consider the items you use daily and how best to store them. Will you need compartments for pens, a slot for documents, or a designated space for your phone? By assessing your needs, you can create an organizer tailored specifically to your workflow.
Inspiration Is Key
Finding the right inspiration can make your DIY experience even more exciting. There are countless designs and tutorials available online to spark your creativity. Here are some popular ideas to get you started:
- Vertical File Holders: Perfect for keeping important documents upright and organized while saving desk space.
- Sticky Note Dispensers: A fun and practical addition that allows easy access to notes without cluttering your desk.
- Drawer Dividers: An excellent solution for separating various office supplies, ensuring everything has its place.
- Pencil Holders: Simple to make, these can be customized in size and shape to meet your storage needs.
These ideas are just the tip of the iceberg when it comes to custom desk organizers. Whether you have a penchant for a specific color scheme or favor a particular decoration style, the possibilities are endless. Remember, the objective is to create a workspace that not only serves functional needs but also resonates with your personal taste.
As you explore different design options and gather your materials, keep in mind that personalization is key to diving fully into your DIY journey. The more you invest your own style and creativity into your organizers, the more satisfaction you will gain from their functionality and appearance.
| Advantage | Description |
|---|---|
| Customizable Design | With a DIY approach, one can tailor the desk organizer to fit personal aesthetics and functional needs, creating a unique workspace. |
| Cost-Effective | Building your own desk organizer can save money compared to purchasing pre-made ones while allowing for greater creativity. |
| Sustainable Materials | Using recycled or upcycled materials can lead to eco-friendly solutions for organizing your workspace without compromising style. |
| Skill Development | Engaging in DIY projects fosters new skills such as woodworking or crafting, enhancing your abilities and confidence. |
A workspace that reflects your personality is essential in fostering productivity. The DIY Custom Desk Organizers allow individuals to not only enhance their workspaces but also engage in fulfilling creative activities. For those looking to streamline their daily tasks, building a personalized organizer provides optimal efficiency while also making a stylish statement. By utilizing various design options and sustainable materials, contributors are encouraged to think outside the box, creating solutions that are truly their own. The advantages mentioned in the table highlight just how impactful this creative endeavor can be, serving as a stepping stone to greater workspace satisfaction and efficiency.
CHECK OUT: Click here to explore more
Designing and Building Your Desk Organizer
Once you have gathered your materials and drawn inspiration, it’s time to dive into the hands-on part of your DIY custom desk organizers project. The design phase is where your creativity can truly shine. Depending on your skills and the complexity of your design, you can choose to start with basic shapes or venture into more elaborate constructions. Here are some step-by-step guidelines to help you craft the perfect desk organizer:
Step 1: Planning Your Design
Begin your project by sketching your ideas on paper. Visualizing your design will provide clarity and make it easier to create your organizer. Consider dimensions that fit the space on your desk. A ruler can help you measure accurately, ensuring each component is proportional. If you’re unsure about the layout, use graph paper to create a scaled version of your desk to help visualize the size and arrangement of the organizer.
Step 2: Cutting Your Materials
With your plan in place, it’s time to cut your materials. Each piece should adhere to your design specs, and precision is crucial. For cardboard, scissors could suffice, but for wood, a craft knife or saw might be necessary. Always prioritize safety; use a cutting mat when necessary and wear protective gear if dealing with tools that pose risk to your hands.
Step 3: Assembly
After cutting, it’s time to assemble your pieces. Begin by laying out all the components on your work surface. Start with the base and attach any side pieces using your chosen adhesives. For wooden organizers, wood glue offers a strong bond but might require clamps to hold the pieces in place while the glue dries. For cardboard, hot glue or non-toxic craft glue should work effectively. Remember, patience is key during this step; giving your adhesives ample time to set can significantly enhance the durability of your final product.
Step 4: Painting and Personalizing
Once assembled and dried, the true fun begins! Painting your desk organizer not only increases its aesthetic appeal but also allows you to match it to your office decor. Use tape to create clean lines for a professional finish, and consider adding a layer of sealant once the paint is dry for added protection. Personalized touches such as decals, stencils, or fabric coverings can make your project truly unique. Choose designs and patterns that reflect your personality, transforming a simple organizer into a statement piece.
Step 5: Organizing and Finalizing
Now that your organizer is visually appealing, it’s time to put it to work! Organize your office supplies based on functionality and frequency of use. Keep daily essentials within reach while reserving compartments for less-used items. This step not only declutters your workspace but can also enhance your productivity. If you find certain areas too cramped, consider tweaking your design or creating additional organizers for specific tools, like a separate holder for writing tools or a file section for documents.
To further elevate your workspace, think about arranging your desk to enhance productivity and motivation. The goal is to create a functional yet visually pleasing environment where you feel inspired to be productive. By creating a custom desk organizer, you’re not just crafting a functional piece; you’re shaping your work routine and enhancing your creative energy every time you sit down at your desk.
Remember, building a desk organizer is not merely about the end product; it’s about the journey and the investment of your unique style into your space. Each organizer tells a story of creativity, purpose, and personality, reflecting the essence of who you are as a creator and professional.
CHECK OUT: Click here to explore more
Conclusion
Creating your own DIY custom desk organizer is not just about aesthetics; it’s a transformative process that empowers you to take charge of your workspace. By following the structured steps outlined in this guide—from planning and cutting to assembling and personalizing—you open up a world of possibilities for enhancing both the functionality and style of your desk.
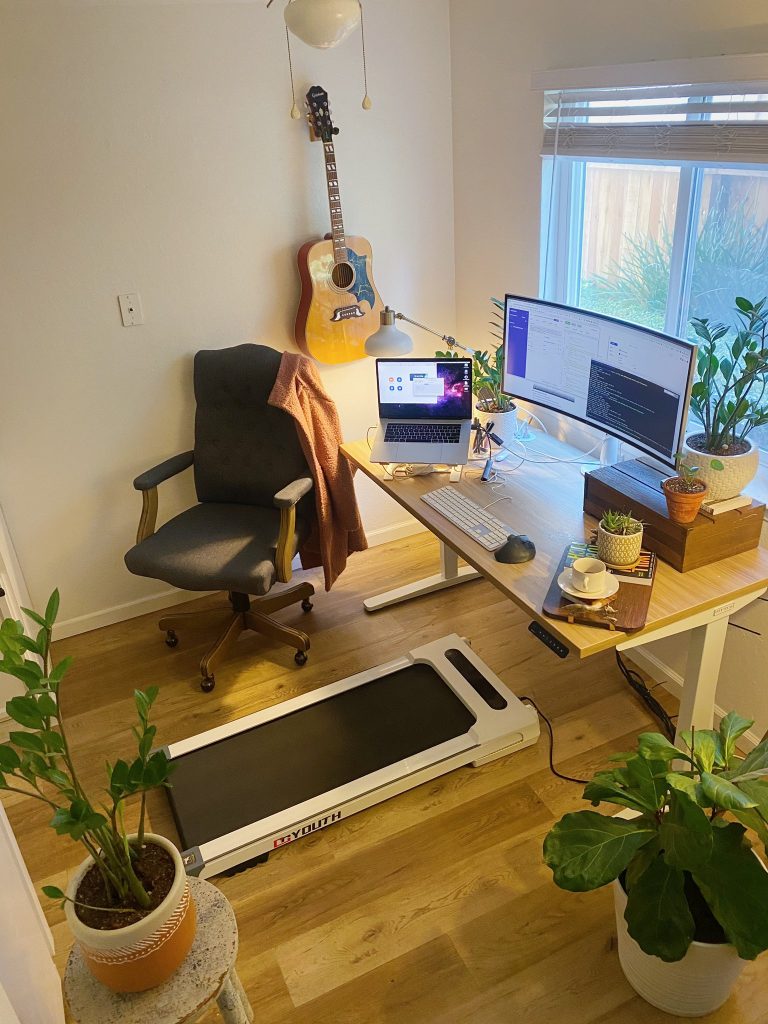
Consider the emotional impact of design as well—in a remote work era where home offices are becoming the norm, a personalized organizer can serve as a daily source of inspiration and productivity. Taking the time to incorporate your unique style into your designs fosters a sense of ownership and pride in your workspace. Moreover, the act of organizing can eliminate clutter and streamline your workflow, significantly contributing to your overall efficiency.
Looking forward, explore various materials, colors, and organizational layouts that resonate with your personal brand. Delve into trending ideas via social media or home decor blogs to spark new inspiration. The versatility of desk organizers means you can craft solutions tailored to your needs, whether you require something compact or an elaborate setup with multi-tiered compartments for all your essentials.
In conclusion, crafting your own desk organizer is a delightful journey into creativity, blending functional art with personalized style. As you embark on this DIY adventure, remember that the ultimate goal is not just to create a tool but to enhance your working experience and make a statement about who you are. So, gather your materials, unleash your creativity, and turn your workspace into a sanctuary of productivity with a custom desk organizer that is distinctly yours.